Here’s my process on my custom sketchbook. It was nice to start building it, as I was stressing myself out a teensy bit too much over the process.
Materials:
- Two sheets of cardboard, for front and back covers
- At least 15 pages of Strathmore 11″x14″ mixed media paper
- Seven plastic binding discs from a Mini Happy Planner
- Self-healing cutting mat, used with a box cutter and X-acto knife for trimming things
- Sturdy metal ruler
Putting the Spine Together
The first step, and first problem, would be how to cut the holes in the pages. I had taken my 11″x14″ size paper, and cut each page into two 7″ by 10.75″ pieces (with some extra paper left as a remainder), to allow for room on the short edge for the binding. I cut these out with an X-acto knife on my self-healing mat, with a heavier metal ruler to keep it in place.
Discs for this type of binding require a specific shape, typically looking like a thin mushroom, where the rounded disc edge slides in the “mushroom cap” part and is locked in place by the bottom edge of that shape. The thin stem of the mushroom shape allows the pages to sit inside the disc, secured but not technically attached.

But I didn’t have a paper punch of that shape, and it was so small a shape that I wasn’t able to cut it out cleanly with my X-acto knife. I’d read online that a hole punch, with a slit cut out below it, would work. But I didn’t like how the page felt insecure when I tried it, and a 1/8″ hole punch was too small a hole (the other punch I tried was 1/4″).
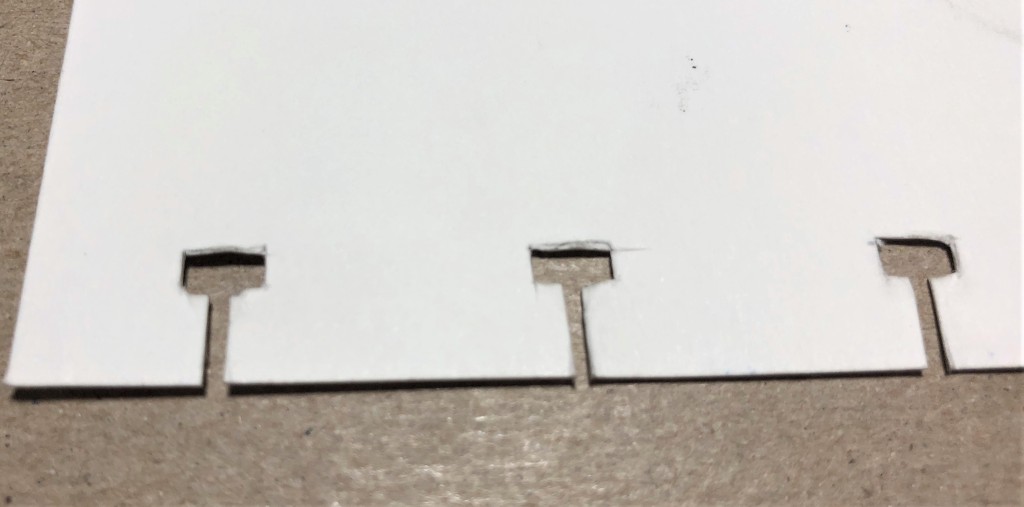
To fix this, I made some tests. I took one of the pages out of that planner, and traced the holes onto a piece of printer paper. I tried cutting out the regular mushroom shape hole, a rectangular variation, and then just using a hole punch. They didn’t fit right at first, so I widened the shapes and tried again, trying to see which would fit best onto the discs.
The slightly wider default mushroom shape ended up as too tight a fit for the discs, and I had the best luck with the rectangular shape. I lined up one of the pages from my discbound planner, and traced the cutout shape on the paper. I sketched out the rectangular shape onto each mark. I cut out the rectangular disc holes onto a few pieces of paper, and they attached to the discs perfectly.

Cardboard Covers
I found an old sketchbook that was falling apart, as the covers were a bit heavier than the coils could handle. I removed the covers, trimmed them down to size, and cut out the disc cutouts. I had to go back and make the cutouts larger, after I tested each one. I was a bit worried at first, since the cardboard was constructed in thin layers, that it wasn’t going to be a clean cutout. It didn’t end up super polished, but still attached and worked anyways. Funny thing, the covers were too heavy for the old sketchbook, but not too much for this new binding.
Once those were done, I had both the front and back cover attached to the discs.

Pages
Cutting out the holes on the pages took some time, as I had 31 pages to finish. I cut out the holes by hand with my X-acto. I then attached the pages onto the discs (that currently held two cardboard covers), and the book was done!

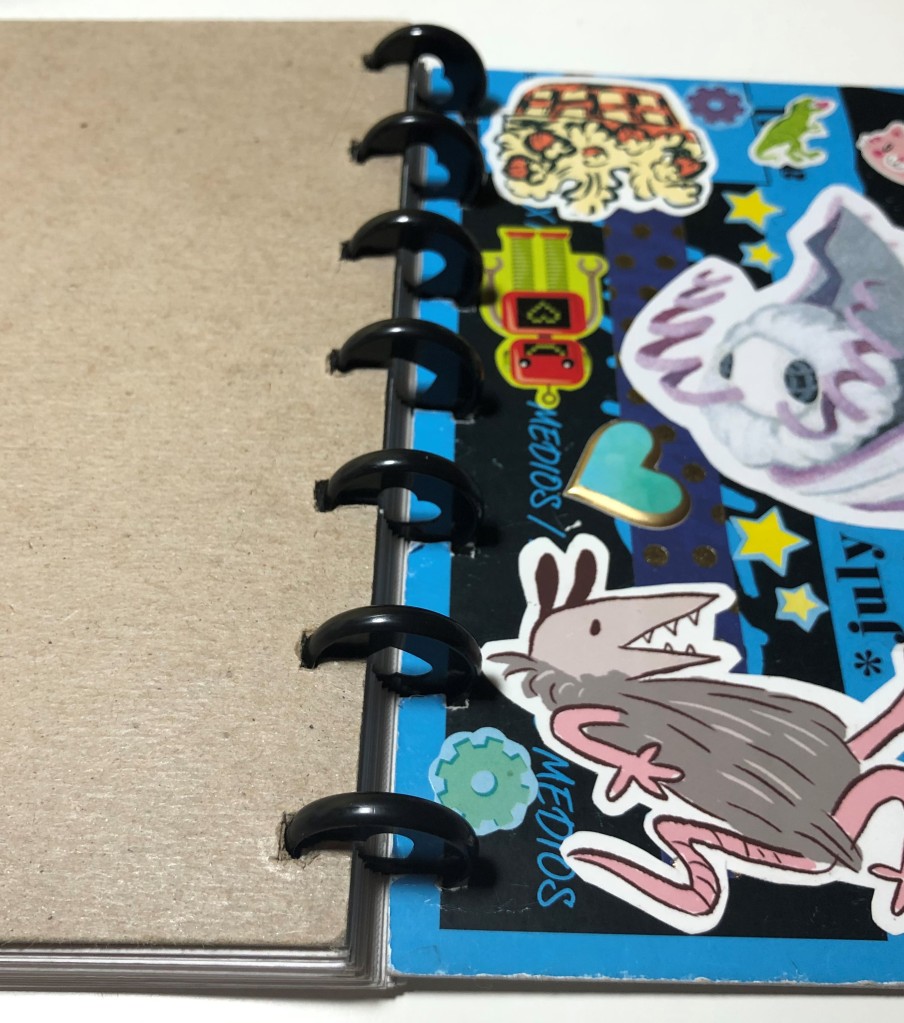
Stickers!
I covered the sketchbook in fun stickers. Some of them I made myself, others I bought at Michael’s. And there’s some from an artist (Bella Latell) who goes to my same school that look totally rad! I wish I’d left more room for future stickers, but I can always add more to the inside covers.

The best thing about this is, since the pages are removable, I can rearrange any page or replace all the pages when they’re filled up. It’s very portable too. The pictures in this post were taken after I finished it, as you may tell from seeing the stickers in the first photo.
I had some initial ideas that didn’t work out. One was to cut out pages of palette paper that would attach in, so I wouldn’t need to carry a palette. But the palette paper was too flimsy. In the end, I’m happy with this project, and this sketchbook is full of potential!

Nice!
LikeLike